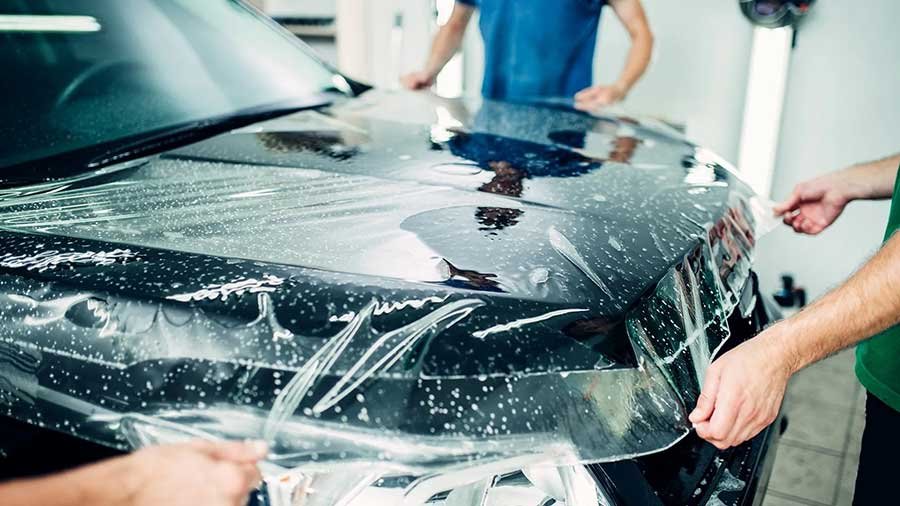
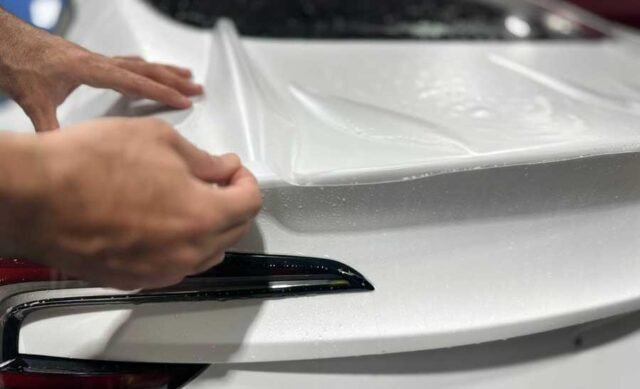
When it comes to preserving the glossy finish and integrity of your vehicle’s paint, clear bra installation stands out as a top-tier choice. Clear bra, also known as paint protection film (PPF), acts as an invisible shield against road debris, stone chips, bug splatter, and harsh weather elements. If you’re considering enhancing your car’s protection, here’s a comprehensive step-by-step guide to the clear bra installation process.
Clear Bra Installation Process
1. Materials and Tools Preparation
Before diving into the installation, gather all the necessary materials and tools. You’ll need a high-quality clear bra kit specifically designed for your vehicle make and model. Common tools include a spray bottle with a soapy water mixture, a squeegee, a heat gun, and a sharp knife or cutting tool.
Read more
• What is PPF (Paint Protection Film)?
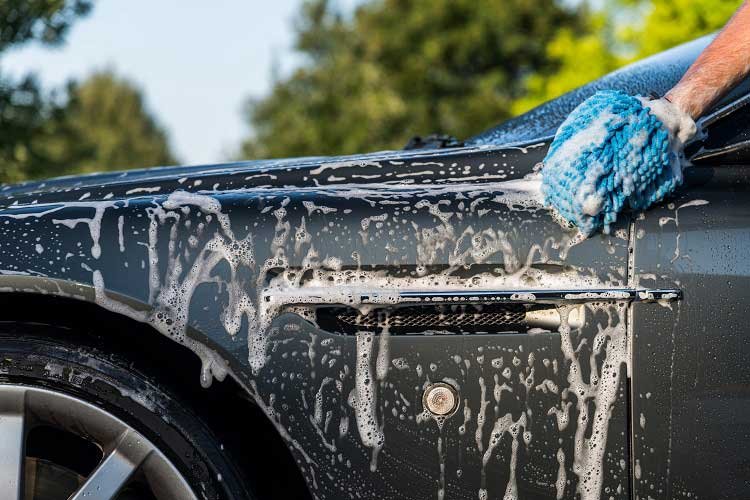
2. Clean the Vehicle Thoroughly
Start with a clean canvas. Wash your vehicle meticulously to remove any dirt, dust, or contaminants that could interfere with the clear bra’s adhesion. Pay special attention to the areas where the film will be applied, ensuring they are completely free from debris.
3. Measure and Cut
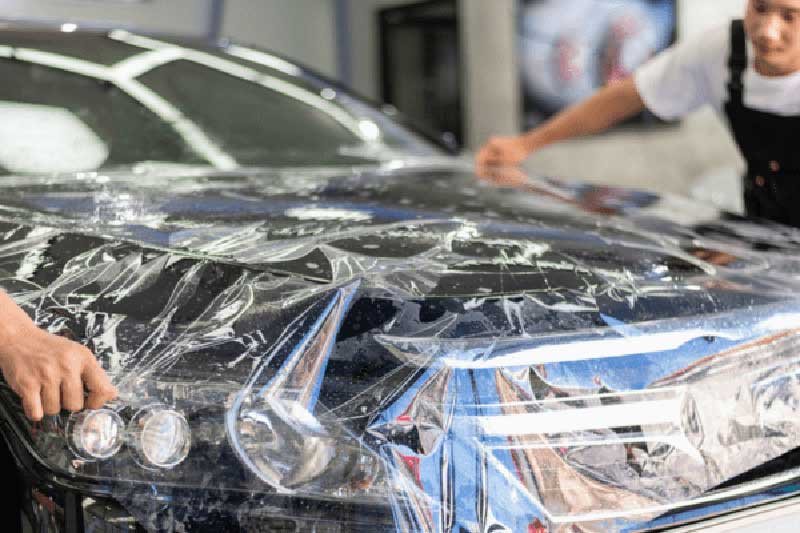
Carefully measure and cut the PPF according to the dimensions of the vehicle’s panels. It’s crucial to leave a bit of excess material around the edges to ensure full coverage. Precision is key during this step to achieve a seamless fit.
4. Apply a Soapy Water Mixture
Spray a soapy water mixture onto both the vehicle’s surface and the adhesive side of the clear bra. This step helps prevent the film from sticking immediately, allowing you to reposition it as needed during installation.
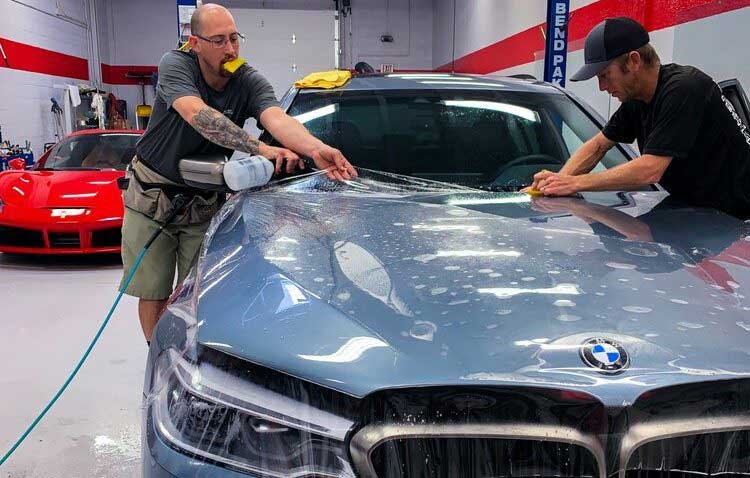
5. Position and Smooth Out the Film
Carefully position it on the designated area, starting from one edge. Use the squeegee to gently smooth out the film, pushing any air bubbles or excess water towards the edges. Take your time to ensure a bubble-free and wrinkle-free application.
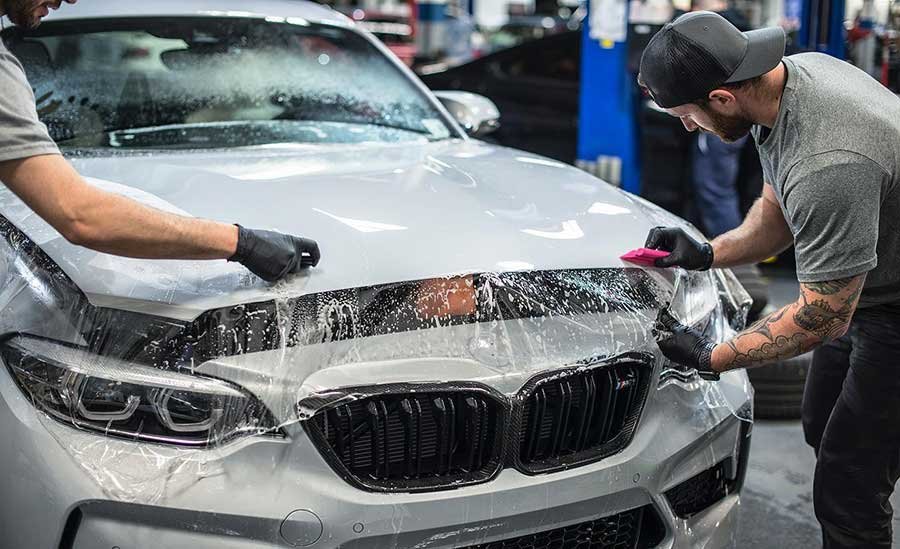
6. Use a Heat Gun for Contoured Areas
In areas with curves and contours, a heat gun becomes a valuable tool. Gently warm the clear bra with the heat gun, making the film more pliable and allowing it to conform to the shape of the vehicle. This step is crucial for achieving a snug fit around complex surfaces.
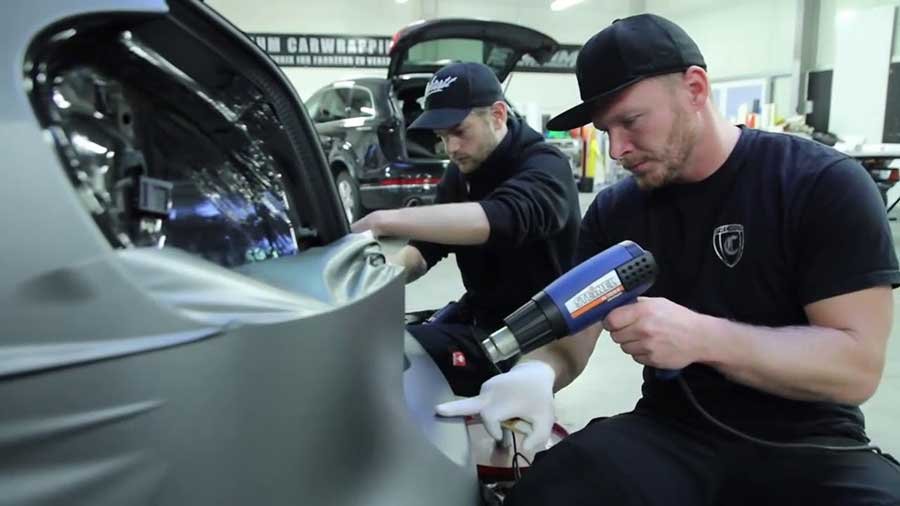
7. Trim Excess Material
Once the PPF is securely in place, carefully trim any excess material using a sharp knife or cutting tool. Pay attention to details and be patient, as precision in trimming contributes to the overall aesthetic and effectiveness of the protection.

8. Repeat the Process for Each Panel
Continue the installation process panel by panel, ensuring that each section is accurately measured, cut, and applied. Consistency throughout the installation is essential for a cohesive and professional-looking result.
9. Final Squeegee and Inspection
After completing the installation on all desired areas, perform a final pass with the squeegee to remove any remaining water or air bubbles. Take the time to inspect each panel thoroughly, ensuring that the clear bra is securely and evenly applied.
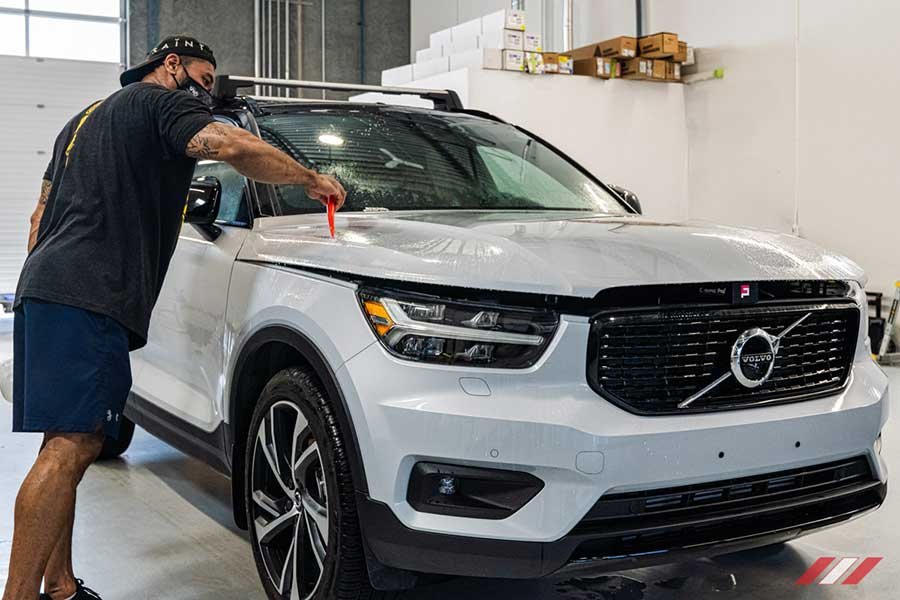
10. Allow Time for Drying
Give the clear bra sufficient time to dry and adhere to the vehicle’s surface. This usually takes a few hours, but it’s recommended to avoid exposing the car to rain or extreme weather conditions during this curing period.
Conclusion
Incorporating a PPF into your vehicle care routine not only enhances its aesthetic appeal but also provides a robust layer of defense against the elements. Following this step-by-step guide ensures a meticulous and successful clear bra installation, extending the life and beauty of your vehicle’s paint. Whether you’re a DIY enthusiast or prefer professional installation, the protection and peace of mind that clear bra offers are well worth the investment.


