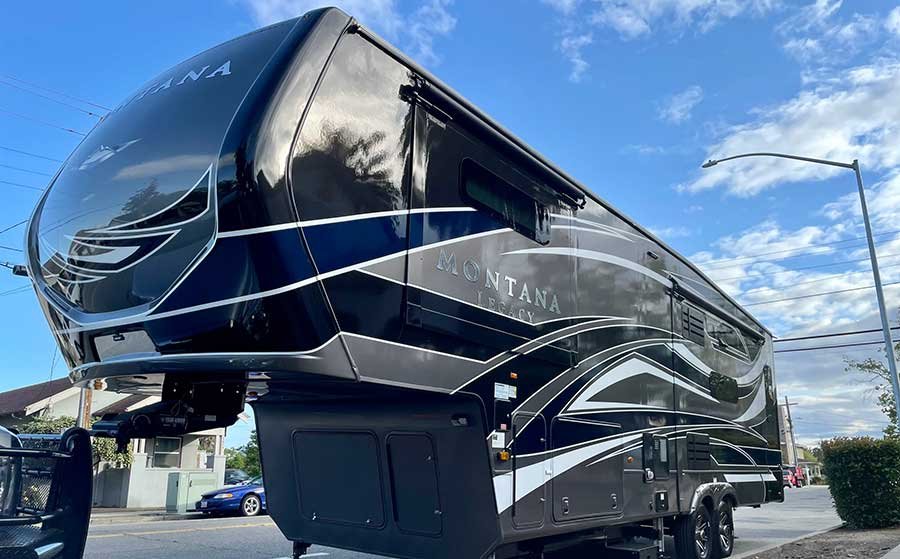
In the realm of automotive care, ceramic coating has emerged as a game-changer, offering unparalleled protection and longevity for vehicles of all shapes and sizes. When it comes to your cherished RV, safeguarding its exterior against the elements is paramount. In this comprehensive guide, we’ll explore the myriad benefits of ceramic coating on RV, and provide a detailed walkthrough of the 12 essential steps for application. Plus, we’ll introduce you to GT AUTO MTL, your trusted partner for automotive enhancement, proudly utilizing the industry-leading IGL Coating for superior results.
• Unveiling the Advantages of Ceramic Coating:
Ceramic coating stands as a beacon of innovation in the world of automotive protection, offering a multitude of benefits that elevate its status above traditional waxing and sealants. Here’s a glimpse into the advantages of ceramic coating:
1. Longevity: Ceramic coatings form a durable, semi-permanent bond with the surface of your RV, providing long-lasting protection against environmental contaminants and wear.
2. Enhanced Gloss and Clarity: Say goodbye to dull, lackluster finishes! Ceramic coatings enhance the shine and clarity of your RV’s exterior, delivering a showroom-worthy aesthetic that commands attention.
3. Hydrophobic Properties: Water beading becomes second nature with ceramic coating, as its hydrophobic nature repels water and contaminants, making cleaning a breeze and minimizing the risk of water spots.
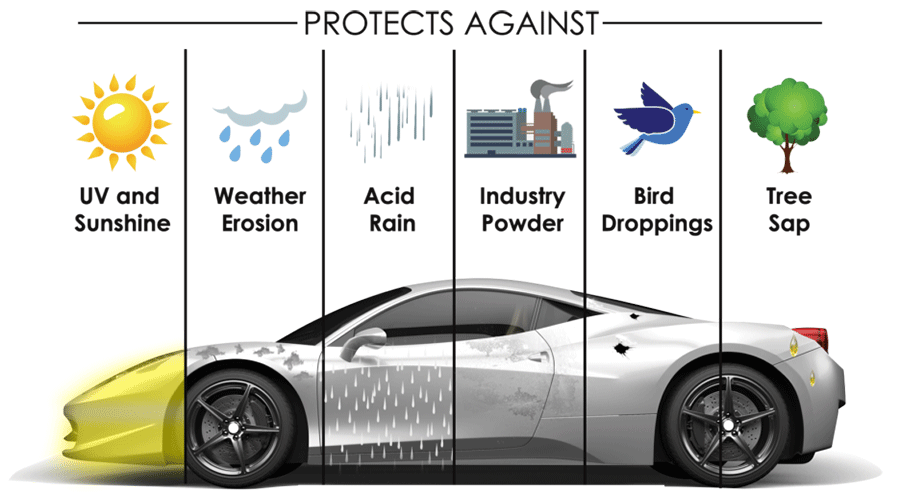
4. UV Resistance: Protect your RV’s paintwork from the harmful effects of UV rays with ceramic coating, preventing premature fading, oxidation, and degradation.
5. Chemical Resistance: From bird droppings to tree sap, ceramic coatings act as a shield against a wide array of environmental contaminants, safeguarding your RV’s pristine finish.
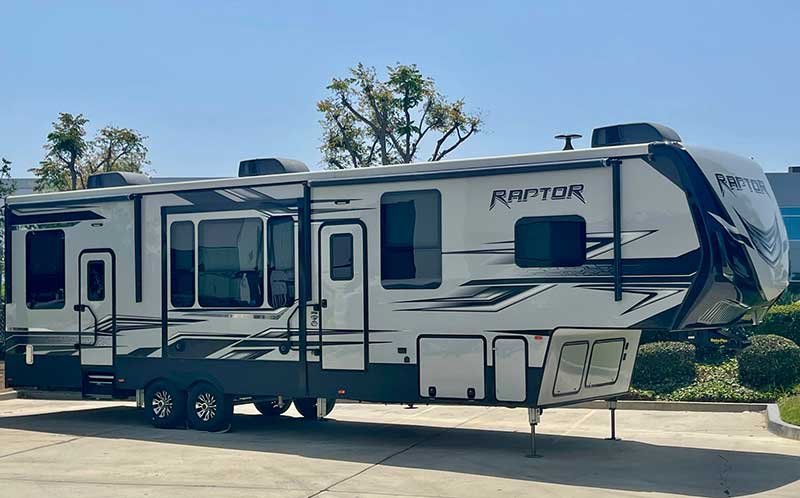
Ceramic Coating on RV
• The Impact of Ceramic Coating on RV:
Now, let’s delve into the transformative effects of ceramic coating specifically tailored to RVs:
1. Extended Protection: RVs endure harsh conditions on the open road, facing everything from inclement weather to road debris. Ceramic coating provides a robust layer of defense, extending the life of your RV’s exterior and minimizing the need for frequent detailing.
2. Streamlined Maintenance: Bid farewell to laborious cleaning sessions! Ceramic coating simplifies RV maintenance by repelling dirt and grime, allowing for easier washing and preserving your RV’s appearance between adventures.
3. Preservation of Value: Your RV is more than just a mode of transportation—it’s an investment in unforgettable experiences. By protecting its exterior with ceramic coating, you’re safeguarding its resale value and ensuring that it retains its allure for years to come.
• The 12 Steps for Applying Ceramic Coating on RV:
Embark on your journey to RV revitalization with these twelve essential steps for ceramic coating application:
1. Preparation is Key: Thoroughly wash and dry your RV to remove any surface contaminants, ensuring a clean canvas for ceramic coating application.
2. Decontaminate the Surface: Utilize a clay bar or clay mitt to eliminate embedded contaminants, such as tar or industrial fallout, from the surface of your RV.
3. Polish for Perfection: Address minor imperfections and enhance surface clarity by polishing your RV with a suitable compound or polish.
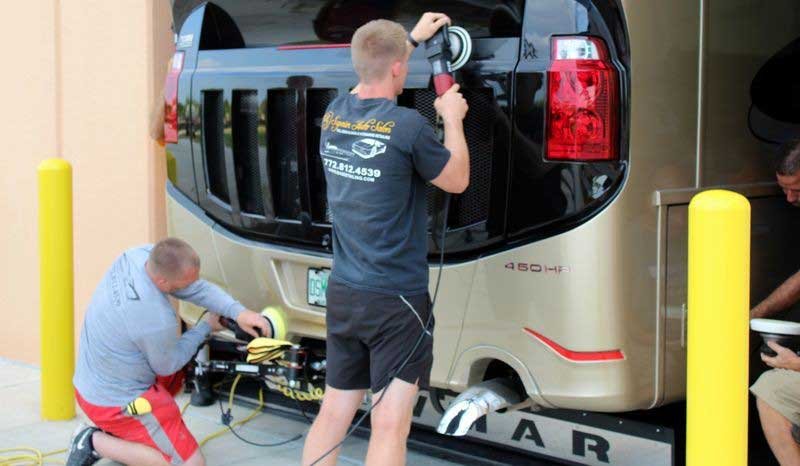
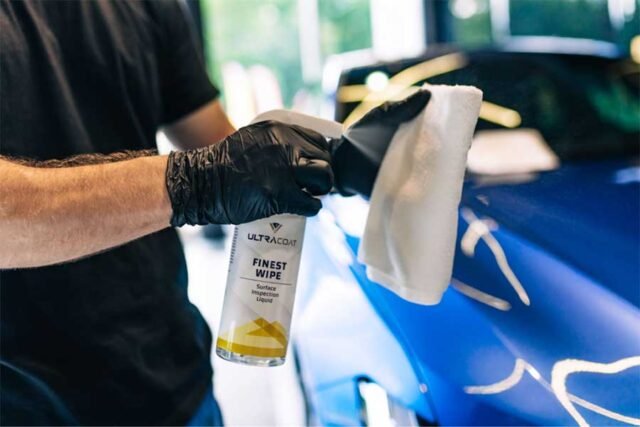
4. Surface Prep: Wipe down the entire surface of your RV with an alcohol-based surface prep solution to remove any residual polish or oils, promoting optimal ceramic coating adhesion.
5. Application Method: Apply a small amount of ceramic coating onto an applicator pad or microfiber cloth, working in small sections to ensure thorough coverage.
6. Even Application: Work the ceramic coating into the surface of your RV using overlapping, linear motions, ensuring uniform coverage and minimizing streaks or unevenness.
7. Allow to Cure: Allow the ceramic coating to cure for the manufacturer-recommended time, typically 24-48 hours, before exposing your RV to water or adverse weather conditions.
8. Inspect and Touch Up: Conduct a thorough inspection of your RV’s exterior, addressing any areas that may require additional coating or touch-ups for complete coverage.
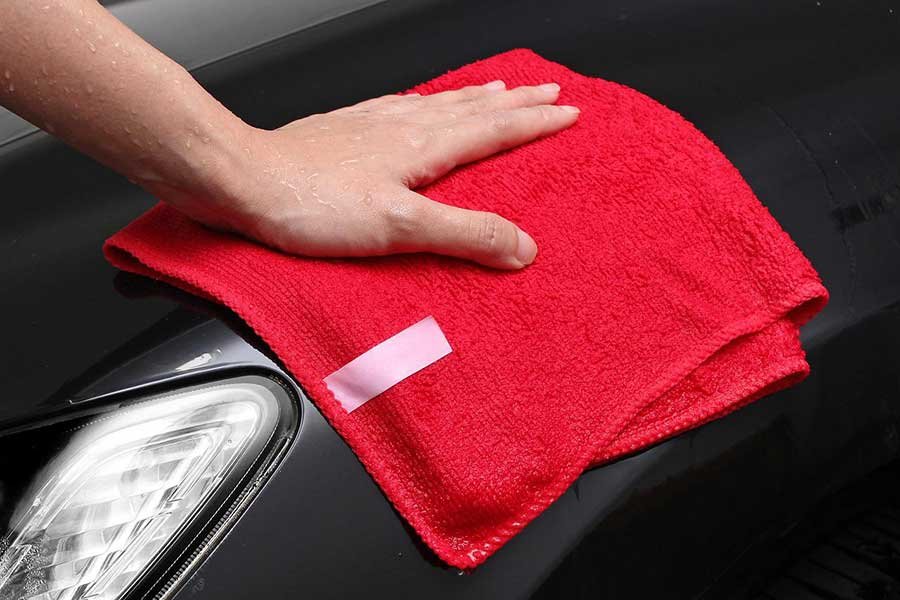
9. Final Buff: Once cured, gently buff the surface of your RV with a clean, dry microfiber towel to remove any residue and reveal a flawless finish.
10. Post-Application Care: Avoid washing or exposing your RV to water for the first 24-48 hours following ceramic coating application to allow for proper curing.
11. Routine Maintenance: Maintain the integrity of your ceramic coating by washing your RV regularly with pH-neutral car wash soap and avoiding abrasive cleaning methods.
12. Enjoy the Results: Sit back, relax, and bask in the glory of your rejuvenated RV, knowing that it’s protected by the unparalleled performance of ceramic coating.
• Introducing GT AUTO MTL and IGL Coating:
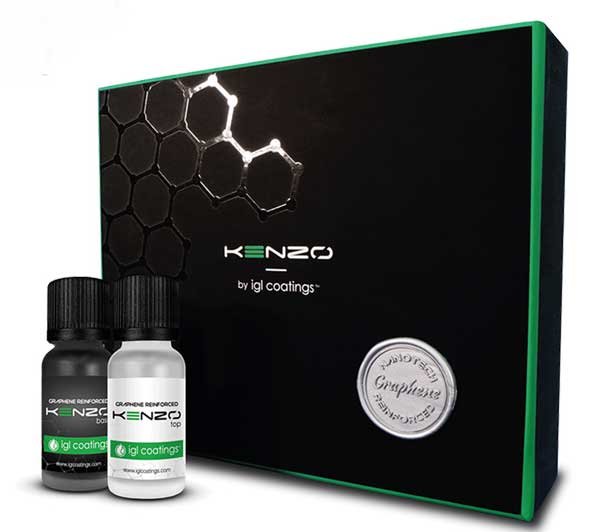
At GT AUTO MTL, located in the vibrant city of Montreal, we’re passionate about enhancing the beauty and longevity of your RV with cutting-edge automotive solutions. As fervent advocates of quality and performance, we proudly utilize IGL Coating for all our ceramic coating applications. With its eco-friendly formulations and exceptional durability, IGL Coating stands as a testament to innovation and excellence in automotive care.
In conclusion, ceramic coating offers a transformative solution for protecting and preserving your RV’s exterior, ensuring that it remains in pristine condition for years of adventures to come. By following the twelve steps outlined in this guide and entrusting your RV to the expertise of GT AUTO MTL, you’re investing in unparalleled quality and peace of mind. Experience the difference of ceramic coating and embark on your next journey with confidence and style.


